Habitat & Setup
How to Set Up a Bioactive Terrarium for Beginners
Learn how to build a bioactive terrarium with live plants, a cleanup crew, and layered substrate that keeps your reptile's habitat naturally balanced.
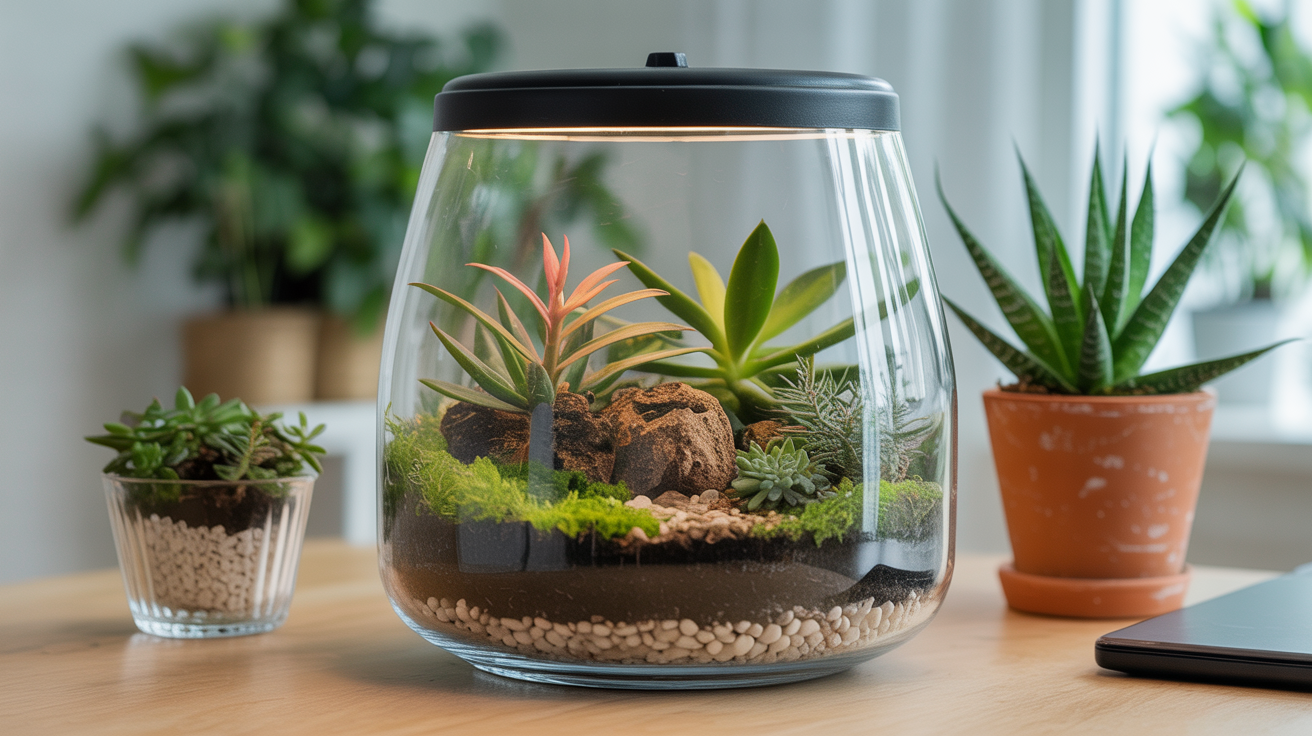
A bioactive terrarium is a living enclosure. Instead of replacing substrate every few months and scrubbing every surface, you build a mini ecosystem where beneficial organisms break down waste, recycle nutrients, and keep the soil structure healthy on their own. The result is a more natural environment for your animal and, over time, less manual cleaning for you.
Getting there takes more planning upfront than a basic paper-towel setup, but the concept itself is not complicated. You are building three things at once: a drainage system so roots and cleanup crew can breathe, a substrate mix that holds moisture and supports plant growth, and a population of small invertebrates that process organic waste before it becomes a problem.
What "Bioactive" Actually Means
The core idea is a self-regulating soil column. Waste from your animal, shed skin, uneaten plant matter, and dead feeder insects break down through microbial activity and the work of a cleanup crew, which typically means isopods (such as dwarf white or tropical isopods) and springtails. Both are harmless to reptiles and most amphibians and will not survive outside the enclosure in typical household conditions.
Springtails are roughly 1 to 2 mm long and consume mold, fungi, and very fine organic particles. Isopods are slightly larger and handle heavier waste like feces and larger plant debris. Together they feed the microbial community in the soil, which in turn keeps the nitrogen cycle running. It is a closed loop, provided you maintain the right moisture and temperature inside the enclosure.
A bioactive setup is not self-cleaning in the sense that you do nothing. You still spot-clean visible waste, replace any decor that develops harmful mold, and monitor your animals daily. The difference is that you are not breaking the whole enclosure down on a schedule.
Choosing an Enclosure and Deciding on Size
Before buying substrate or plants, confirm your enclosure is suitable. Glass tanks with front-opening doors hold humidity better than screen-top aquariums for tropical species. Species that need drier conditions, such as bearded dragons or uromastyx, can still have bioactive setups, but the drainage layer becomes more important and plant selection shifts toward drought-tolerant succulents and cacti.
What size tank does your reptile need should be your first reference point. Bioactive builds generally work better in larger enclosures because the soil column has more volume to process waste relative to the animal's output. A 40-gallon breeder (90 x 45 x 45 cm) is a workable minimum for most medium lizards, but a 75-gallon or larger gives you considerably more margin.
Taller enclosures are useful for arboreal species like crested geckos, day geckos, or chameleons. Longer, lower enclosures suit ground-dwellers like blue-tongued skinks or leopard geckos. The layout of hides, temperature gradients, and UVB placement still follows the same rules as any standard setup.
Building the Drainage Layer and Substrate Column
The drainage layer sits at the bottom of the enclosure and prevents standing water from saturating the substrate above it. Lightweight expanded clay aggregate (LECA, sometimes sold as hydroballs) is widely used. Lava rock or crushed granite work as well. Aim for a depth of 5 to 8 cm (2 to 3 inches). Some keepers add a small length of plastic tubing down through this layer so they can use a turkey baster to remove water if it accumulates excessively.
On top of the drainage layer goes a separation barrier. A fine fiberglass mesh or a cut piece of weed barrier fabric keeps substrate from mixing down into the drainage zone while still allowing water to pass through freely.
Choosing the right substrate for your reptile covers species-specific recommendations in detail. For a tropical bioactive setup, a common mix is:
- 60% organic topsoil (no perlite, no fertilizer additives)
- 30% play sand or coarse sand
- 10% coconut coir
This ratio retains humidity, allows burrowing, and drains excess water rather than holding it. For an arid bioactive build (desert lizards, tortoises), reverse the sand ratio to roughly 70% sand with smaller amounts of topsoil and coir, and adjust watering accordingly. The substrate depth should be at minimum 10 cm (4 inches), with 15 cm (6 inches) preferred so the cleanup crew has room to work and plants can establish roots.
Selecting Live Plants and Adding the Cleanup Crew
Plants serve several purposes: they absorb nitrogen compounds produced by decomposition, add humidity through transpiration, and give your animal more cover and visual complexity. Choose species that match your animal's temperature and humidity requirements.
For tropical setups (ambient temperature 24 to 28 C / 75 to 82 F, humidity 60 to 80%): pothos, philodendron, bromeliads, ficus pumila, and various ferns establish well. Pothos is particularly durable and tolerates being trampled or dug around.
For arid setups (ambient temperature 26 to 32 C / 78 to 90 F, humidity 30 to 50%): haworthia, aloe, gasteria, echeveria, and cacti with dull spines (avoid species with sharp barbs that could injure your animal). Snake plants (Sansevieria) tolerate both neglect and reptile activity.
Introduce springtails first, before the isopods. Add springtails by pouring a small culture bottle directly onto the damp substrate and letting them disperse on their own. Wait one to two weeks, then introduce isopods. Tropical isopods (Trichorhina tomentosa, the dwarf white) are a common starting choice because they stay small, tolerate a range of temperatures, and reproduce steadily without overcrowding quickly. Porcellio scaber or Armadillidium species are more appropriate for drier builds.
Do not add feeder insects to a bioactive enclosure shortly after introducing your cleanup crew. Give the isopods and springtails two to four weeks to establish a colony before the animal's regular feeding begins.
Setting Up Temperatures and Lighting
A bioactive build changes nothing about your temperature gradient or UVB requirements. How to set up a reptile tank step by step covers the core heating and lighting setup. Your basking zone, cool side, ambient temperature, and night-time low should all meet the species-specific targets regardless of whether the enclosure is bioactive or conventional.
What does matter for the bioactive layer is substrate temperature. Soil that reaches above 35 C (95 F) consistently will kill your cleanup crew. Position the basking spot above a rock or piece of hardscape rather than directly above bare substrate, and confirm with a probe thermometer that the substrate surface under the basking zone stays below 32 C (90 F). If you use an under-tank heat mat, be aware that it will dry out the substrate below it quickly; a bioactive build generally works better with overhead heating.
For lighting, live plants need a light source in the 5000 to 6500 K range with adequate PAR value to photosynthesize. Many UVB bulbs designed for reptiles provide enough light for low-to-medium light plants. If your species requires high UVB (index 3 to 5), the associated light output is usually sufficient for pothos, ferns, and bromeliads. For denser plantings or plants that need more light, a dedicated grow strip alongside your UVB fixture can supplement without affecting the reptile's lighting schedule.
Frequently Asked Questions
How long does a bioactive terrarium take to establish?
The microbial and invertebrate communities need four to eight weeks to cycle properly before they handle waste efficiently. During this period, spot-clean more often than you think you need to. Once the colony is established, the substrate processes waste noticeably faster and mold outbreaks become rarer.
Can all reptiles be kept in a bioactive setup?
Most can, though some species make it more challenging. High-output feeders like large monitors produce more waste than a typical cleanup crew can process in a small enclosure. Aquatic or semi-aquatic setups (water dragons, mudskippers) can be done bioactively but require significantly more design work. Venomous or very shy species that cannot be disturbed for periodic checks are harder to manage. Start with a hardy, commonly kept species if this is your first bioactive build.
What if I see mold growing in the enclosure?
Small patches of white mold on the surface of substrate or on wood are normal in the first few weeks while the cleanup crew is establishing. Springtails consume mold actively; if mold is spreading despite a healthy springtail population, it usually indicates the substrate is too wet. Reduce misting frequency, increase ventilation slightly, and the springtails should catch up. Black or green mold on food items should be removed immediately.
Do I ever need to replace the substrate?
A well-maintained bioactive substrate can last two to four years before it becomes exhausted, compacted, or builds up waste salts. Signs it needs replacing include a persistent ammonia smell, collapse of plant roots, or visible pest infestations (fungus gnats in large numbers, grain mites overtaking springtails). A partial substrate refresh, replacing the top half while leaving the bottom colony intact, can extend the substrate's useful life.
Is a bioactive setup more expensive than a standard one?
The initial cost is higher because you are purchasing drainage material, a deeper substrate volume, live plants, and starter cultures for the cleanup crew. Ongoing costs tend to be lower because you are not replacing substrate on a fixed schedule. The time investment also shifts: more work upfront, less maintenance in the months that follow.